Instant Refresh for Kitchens and Baths with Removable Style
Step into practical creativity as we explore temporary kitchen and bathroom makeovers using removable surfaces and clip-on fixtures. Discover renter-safe upgrades, quick weekend wins, and reversible ideas that respect leases and budgets while delivering serious impact. From peel-and-stick backsplashes to tension-mounted storage, you will find tested tips, safety notes, and design inspiration to transform hardworking spaces without dust, noise, or regrets. Try bold changes today, then restore with confidence when life shifts.
Plan for Speed, Safety, and Lasting Good Looks
A successful makeover starts with a clear plan that respects surfaces, moisture, and daily routines. Map out cooking and washing zones, measure accurately, and review lease clauses before purchasing anything. Choose products rated for kitchens and baths, note cure times, and stage tasks for minimal downtime. Define a palette, list tools, and prepare cleaning supplies so adhesives bond properly. Establish a realistic weekend schedule, and leave buffer time for drying, ventilation, and tidy removal of packaging and scraps.
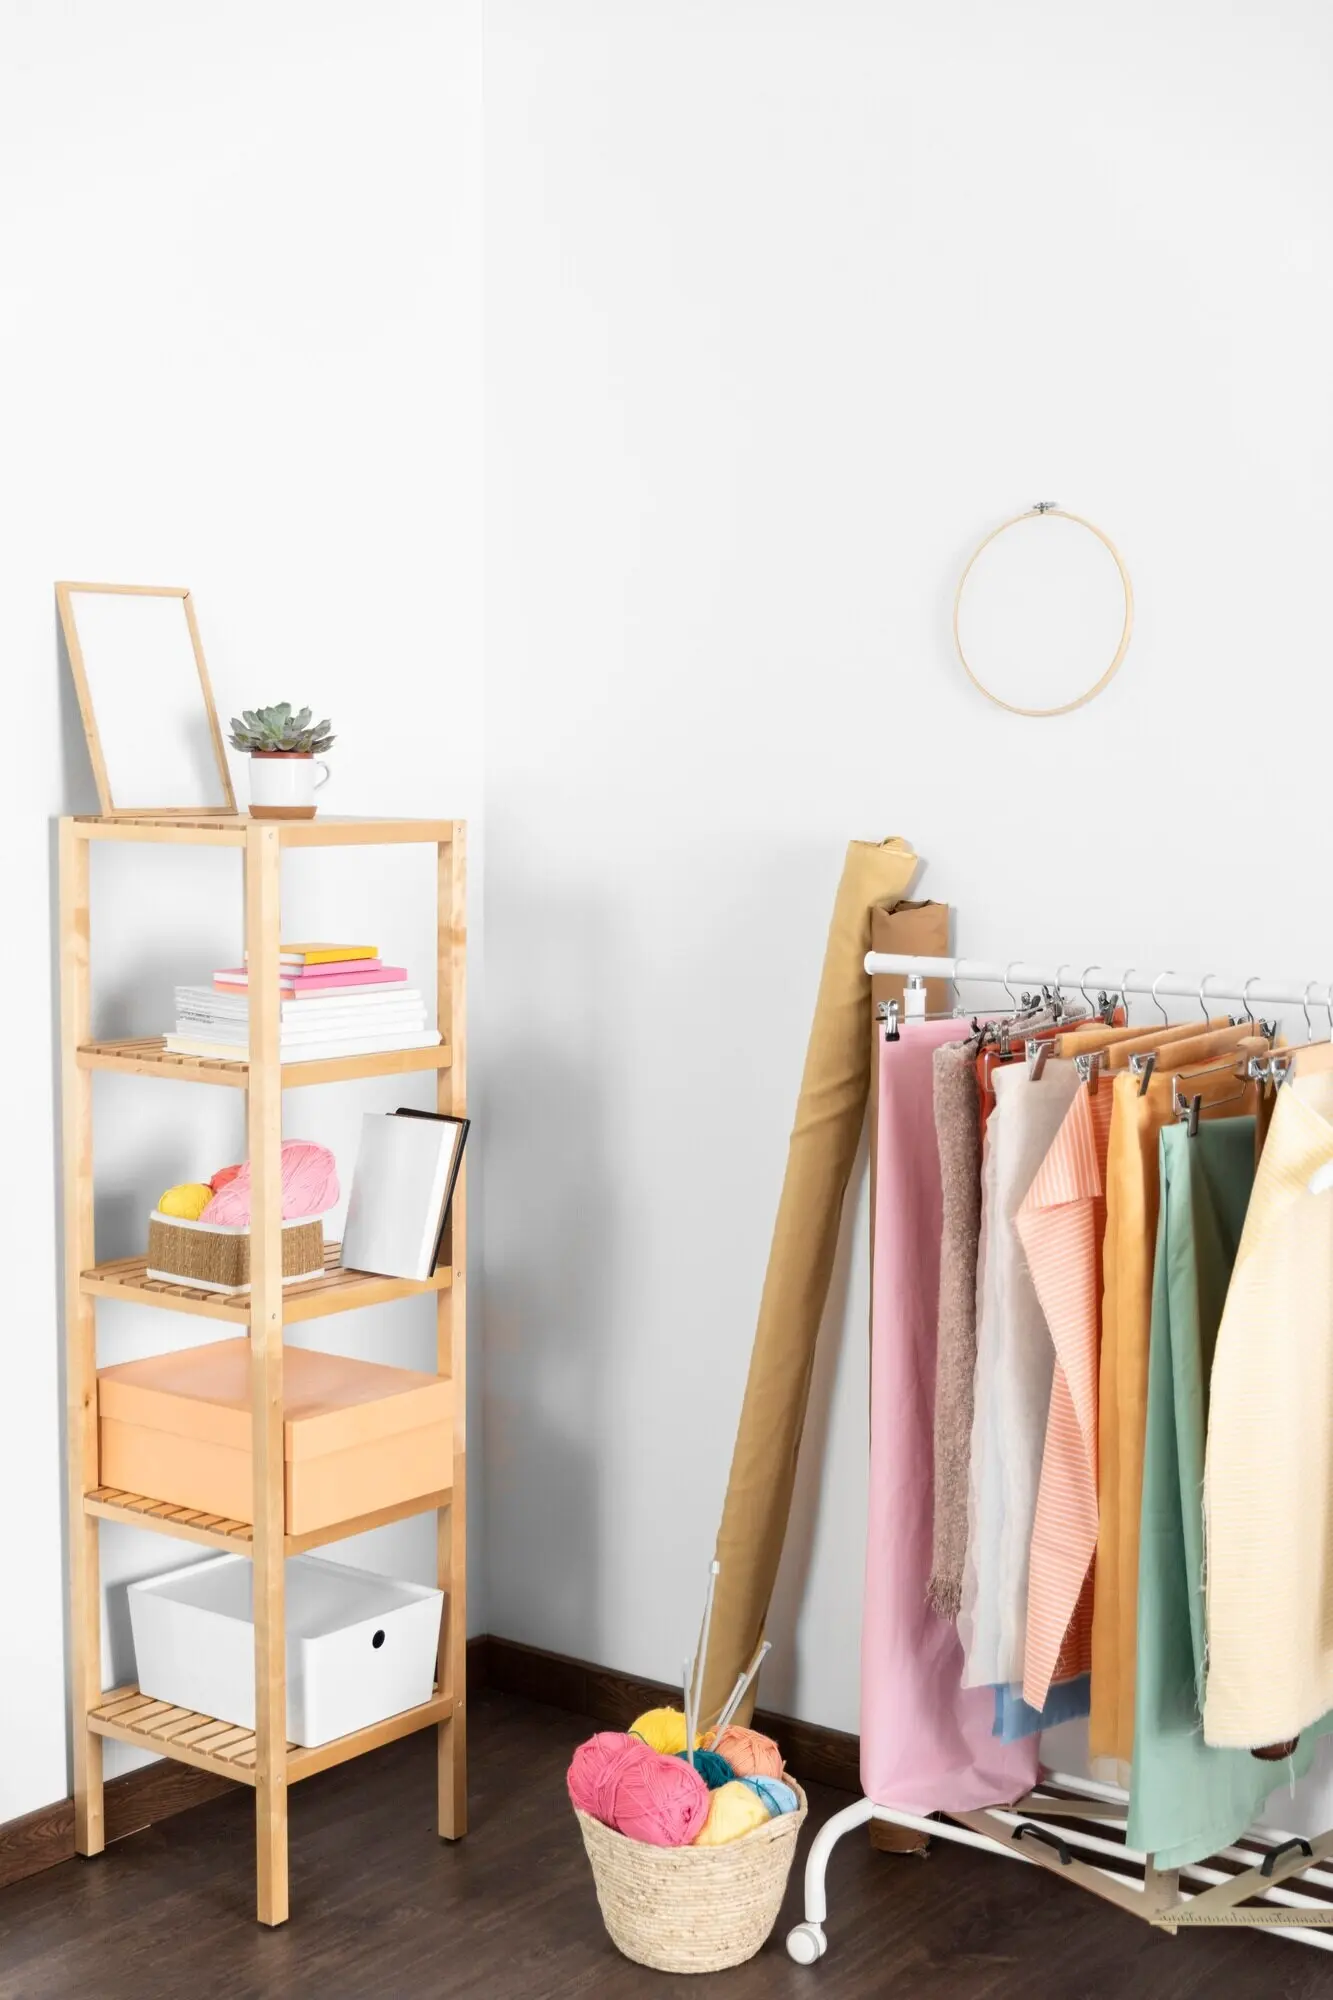
Removable Surfaces That Change Everything
Modern films and tiles deliver big visual upgrades without demolition. Countertop overlays disguise tired laminates, vinyl tiles add pattern and shine, and removable wallpapers bring color to kitchens and baths without long-term commitment. Look for low-VOC, renter-friendly adhesives and materials rated for moisture. Practice installation on a small sample board first to learn squeegee angles and bubble release. Prioritize edges and seams, where water and grease try to sneak in, and use trims or micro-beads to protect vulnerable transitions.

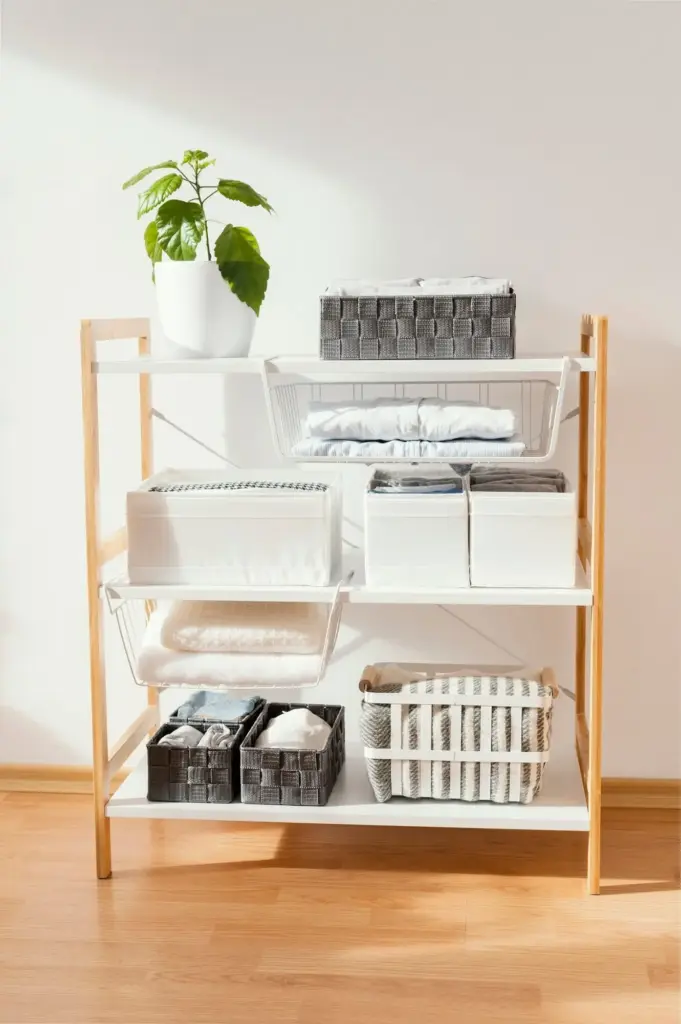
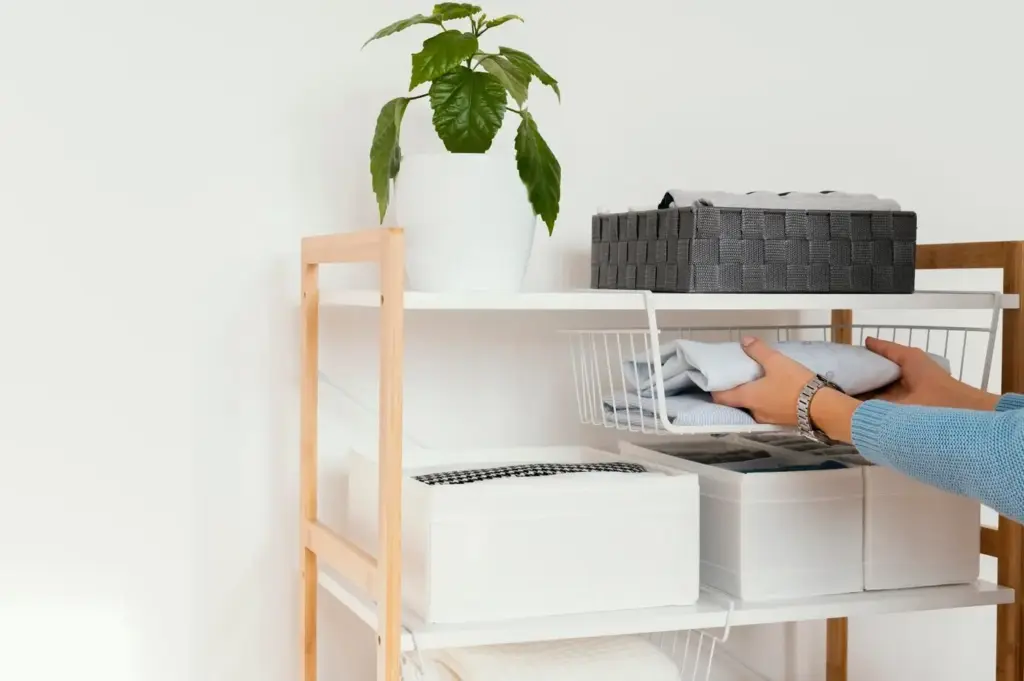
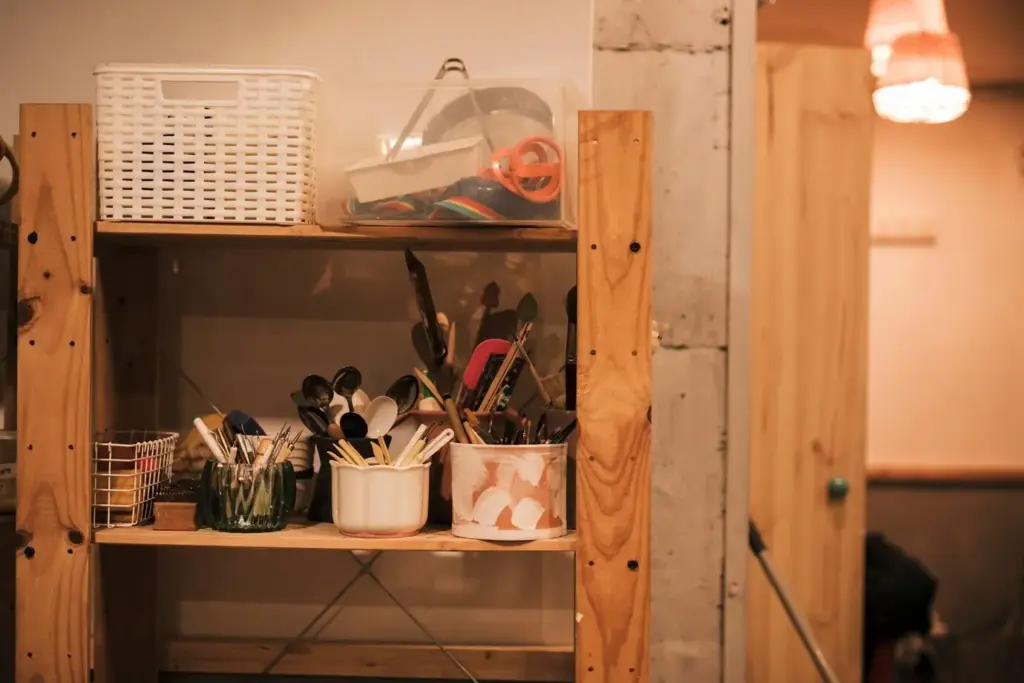
No-Drill Fixtures That Work Hard
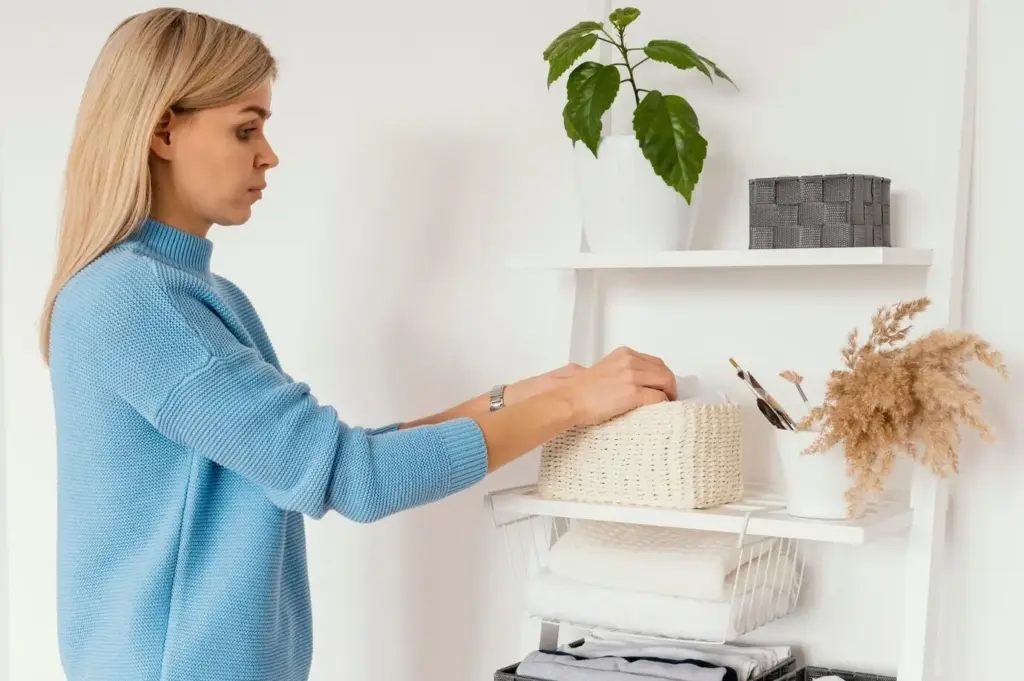
Clip-on and no-drill solutions multiply storage and functionality without holes. Suction hooks excel on glass and glazed tile, adhesive brackets support light shelves, and tension poles create vertical caddies in showers and beside sinks. Check weight ratings, surface compatibility, and curing directions, because most adhesives strengthen after twenty-four hours. Use redundant supports where splashes and movement are frequent. Plan placement around daily routines so towels, utensils, and soaps land exactly where hands naturally reach, reducing clutter and friction every day.
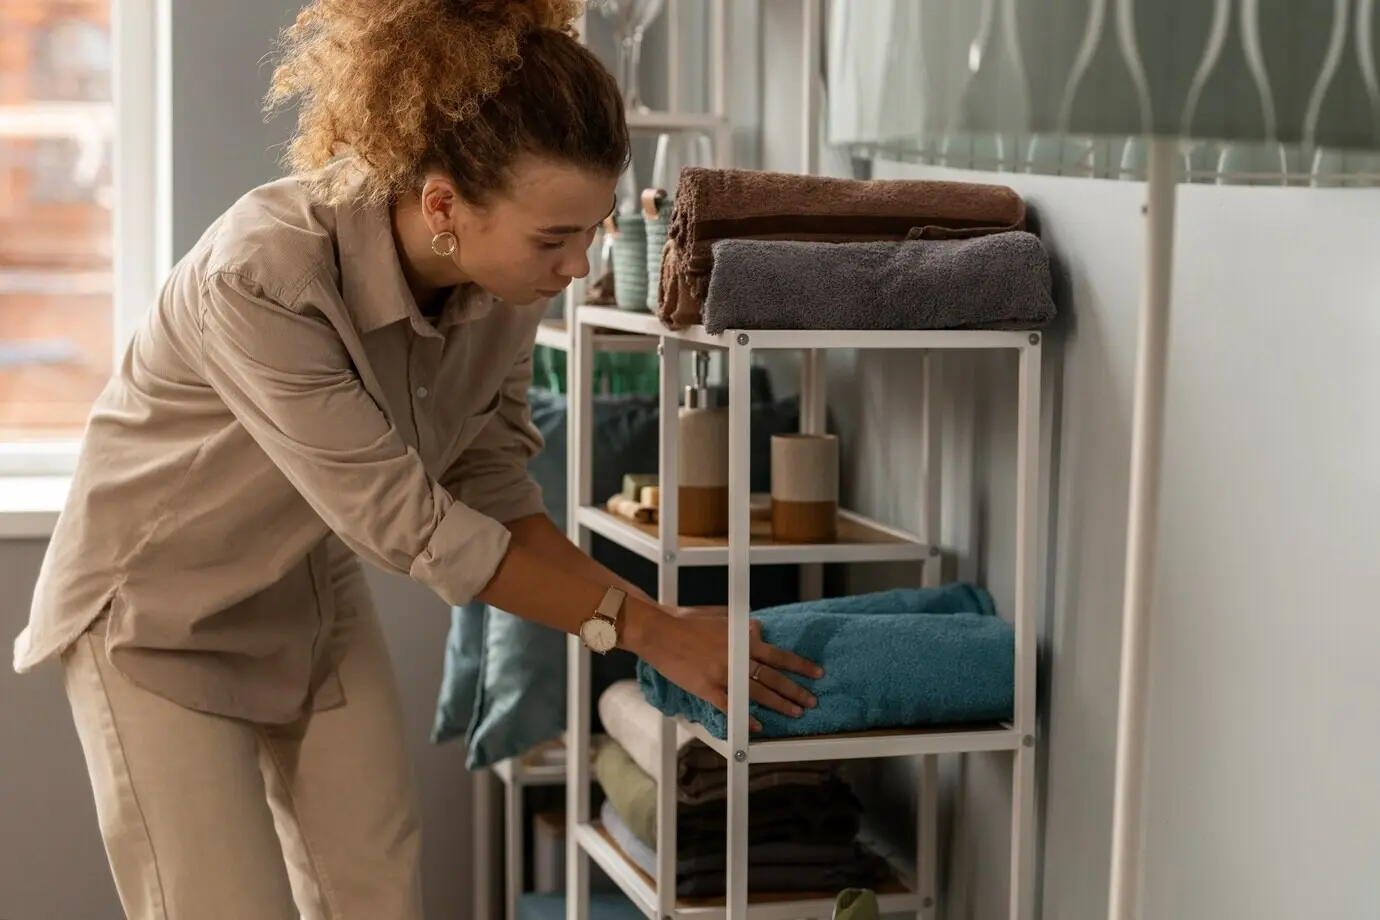
Moisture Management and Daily Care
Water and steam challenge any upgrade, especially reversible ones. Protect seams with subtle sealants where allowed, squeegee shower walls after use, and run vent fans for at least twenty minutes to clear humidity. Choose pH-neutral cleaners that preserve films and finishes, and avoid abrasive pads. Wipe spills quickly near sink edges and cooktops to prevent slow adhesive creep. Set a seasonal inspection routine for corners and splash zones, addressing small lifts immediately so your refreshed surfaces stay crisp and dependable.
Seal Edges and Keep Water Moving
Edges fail first, so give them attention. Apply a thin, removable clear caulk bead along countertop lips, backsplashes, and around sink rims where compatible with your product. Keep beads small for easy future removal. Slope accessories slightly toward the basin to prevent pooling, and add discreet drip trays beneath soap dispensers. Train the household to squeegee glass and tile after showers. These tiny habits prevent water from attacking bonds at corners and seams, dramatically extending the life of temporary finishes.
Ventilate, Clean, and Prevent Mold
Good airflow is non-negotiable. Use a vent fan during baths and cooking, and let it run afterward to purge moisture. Open doors or crack windows when possible. Clean with gentle, non-acidic sprays; vinegar solutions can cloud some finishes, so test first. Dry microfiber cloths lift residue without scratching. Watch for darkened edges or musty smells, early signals to intervene. Replace old shower liners, rotate washcloths frequently, and keep clutter off wet ledges so air circulates freely, denying mold a foothold.
Power and Lighting Safety Around Water
Lighting upgrades elevate style, but safety comes first. Choose battery-powered, adhesive-backed LEDs with humidity ratings for bathrooms, or mount plug-in fixtures well away from splash zones. Keep cords tidy with removable clips, and never drape near basins. In kitchens and baths, GFCI protection is widely recommended near water; consult local requirements. Avoid piercing walls for heavy sconces by using clamp lamps on shelves or mirrors designed for it. Bright, well-placed light makes spaces feel cleaner, bigger, and more welcoming every day.

Rental Kitchen Surprise in Forty-Eight Hours
A dull galley kitchen gained light and warmth with faux terrazzo counter film, a white herringbone peel-and-stick backsplash, and magnetic spice shelves on the fridge side. Clip rails corralled utensils near the prep area, while adhesive under-cabinet LEDs brightened the worktop. The tenant staged tools, pre-cut panels, and finished by Sunday evening. Months later, everything peeled off cleanly after low-heat warming, leaving the original laminate and paint untouched and the landlord pleasantly surprised by the careful, reversible approach.
Spa Calm in a Busy Family Bathroom
A family added removable linen-texture wallpaper above tile, a tension shower caddy for kids’ bottles, and suction hooks at child-height. Soft LED puck lights with adhesive backs improved nighttime routines. Parents sealed film edges near the vanity, trained everyone to squeegee after showers, and kept a small towel for quick splashes. The result felt calmer and safer, with less clutter and better visibility. When grandparents visited, fixtures unclipped and re-clipped higher in minutes to suit different needs without tools.
Studio Efficiency with Clever Clips
In a micro-studio, a clamp-on shelf turned a narrow counter into a breakfast nook by day and a prep station at night. A compact tension pole held dish soap, sponge, and towels off the limited surface. Removable marble-look film unified mismatched cabinet doors, while magnetic hooks handled mugs and measuring spoons. Everything installed in an afternoon and came down before a sublet, proving that smart, no-drill choices can adapt to changing roommates, furniture layouts, and even evolving cooking habits.
Eco-Smart Choices and Clean Removal
Remodeling lightly should also tread lightly on the planet. Seek low-VOC adhesives, phthalate-free films, and recycled-content tiles when available. Buy only what you need by mapping precise cuts, then save offcuts for future patches. Choose clip-on fixtures you can repurpose in the next home. When it is time to revert, warm adhesives gently, pull at a low angle, and finish with mild residue removers. Protect original finishes with patience, then donate usable pieces so someone else can create a quick upgrade.
Ask, Share, and Keep the Makeovers Coming
Your experiences make this journey better for everyone. Tell us what worked in your kitchen or bath, what failed under steam, and which products truly removed cleanly. Share photos, measurements, and brand notes in the comments so others can learn. Subscribe for checklists, supply calculators, and fresh project ideas. Vote on our next weekend test, from grout-look vinyl durability to clamp shelf load limits. Together, we will refine techniques, avoid mistakes, and multiply the joy of reversible transformation.
All Rights Reserved.